Your Cart is Empty
This Case Study is from Tile Magazine Technical Focus | Episode 1/Series 1
In 2020 the Southwest U.S., multiple houses were under construction, with happy families waiting to move into their homes and begin the next chapters of their lives. These innocent, unsuspecting homeowners were “shocked” when they discovered within a short time after moving in; their porcelain plank tile installations were “murdered.”
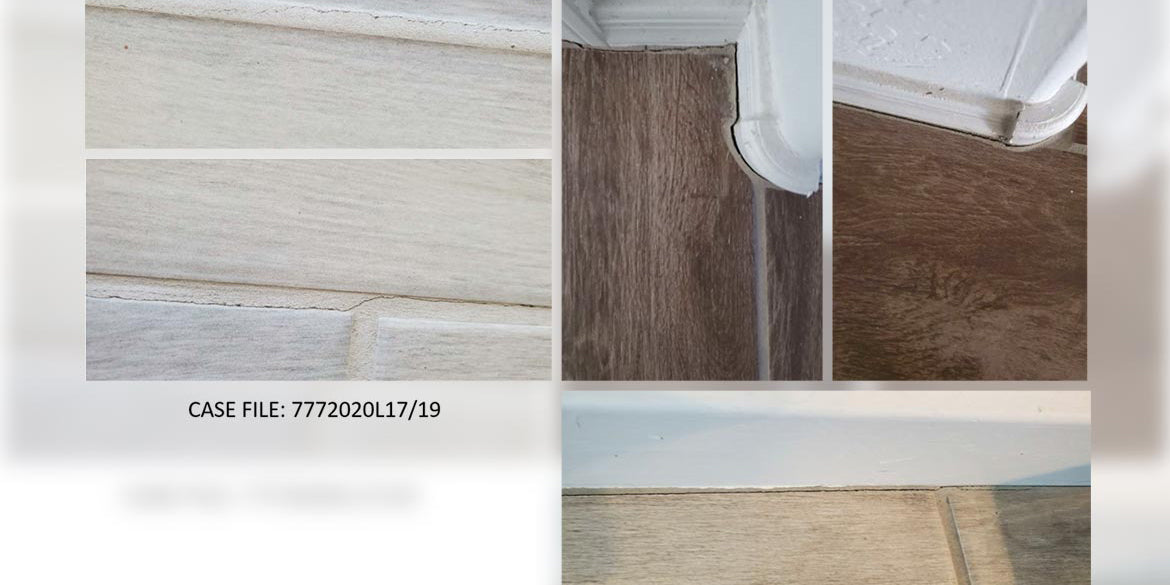
The smoking gun -- cracked grout, found in several homes, in various areas with various types of porcelain planks installed that were supplied by different manufacturers. The grouts were cement-based but also supplied by different manufacturers and installed by different tile crews. A Task Force was assembled, and the investigation began with the first reports taken from multiple lots within the same development.
Destructive evaluation was the only way to gather facts that could lead the investigators to informed conclusions. Planks were removed, and the discovery began. Bonding mortar was found under planks -- that’s a good sign. However, the trowels were combed in the long direction of the tile, which is a bad sign. Trowel ridges are recommended to be combed to cross the shortest side of the tile, making it easier for the tile installer to evacuate air and gain proper transfer and mortar coverage. Every tile setter should view the best visual resource available, Trowel and Error – How to Set Tile the Right Way (see it on YouTube).
Within the very same home, non-directional trowel ridges are found, and evidence of trowel swirls was seen on the concrete. This is not an industry-standard method and has been found to be a common ally to most “Tile Killers.” Further analysis reveals that these plank tiles did not receive flat back troweling to fill in tile mold patterns on the back of the planks, which can prevent complete mortar transfer and coverage. Note: there is mortar coverage/contact at the edges of the plank but not in the center areas.

ANSI/American National Standards Institute’s “Standard Specifications for the Installation of Ceramic Tile, A108.05 Section 2.2 Applying Dry-Set Cement Mortar, Sub-Section 2.2.2” states to comb mortar with the notched side of the trowel in one direction. Another excellent tip stated in this standard is, “Clean surface thoroughly. Dampen cementitious substrates if very dry.”
In one of the grout cracking photos, you can see the concrete (cementitious) substrate had paint overspray and potentially drywall residues that were not cleaned before tile installation.
Was any surface preparation needed to achieve proper flatness requirements before this tile installation began that was “knocked off” the list before the project even started? Did the plank tiles meet the industry tolerances for “warpage” or “wedging,” and were they evaluated before the installation?
Bad mortar coverage will kill a tile installation right out of the gate. No adhesion means no support, and that equals a short life span. That is why ANSI standard A108.05 requires “contact area to be not less than 80%, with full support of the tile with particular attention to all corners and edges of the tile.” The “contact area shall be no less than 95% for exterior and interior wet applications. It may be necessary to flat back trowel individual tiles with a bond coat (mortar) to achieve the proper coverage.”
While specifying or expecting 100% mortar coverage is not practical, that should always be the tile installer’s goal.

