Your Cart is Empty
Immerse yourself in a world of selections at one of our
stunning East Coast showrooms. Architessa sources our tile both
domestically and internationally, bringing the best of porcelain,
natural stone, ceramic, and more to convenient locations and through
our national commercial representatives Contact us to
explore an in-store or virtual appointment with an Architessan. Orders
ship worldwide or can be picked up at Architessa's warehouse
locations. Delivery options are available for orders within Virginia,
Maryland, and D.C.

Immerse yourself in a world of selections at one of our stunning East Coast showrooms. Architessa sources our tile both domestically and internationally, bringing the best of porcelain, natural stone, ceramic, and more to convenient locations and through our national commercial representatives.
Contact Us to explore an in-store or virtual appointment with an Architessan. Orders ship worldwide or can be picked up at Architessa's warehouse locations. Delivery options are available for orders within Virginia, Maryland, and D.C.

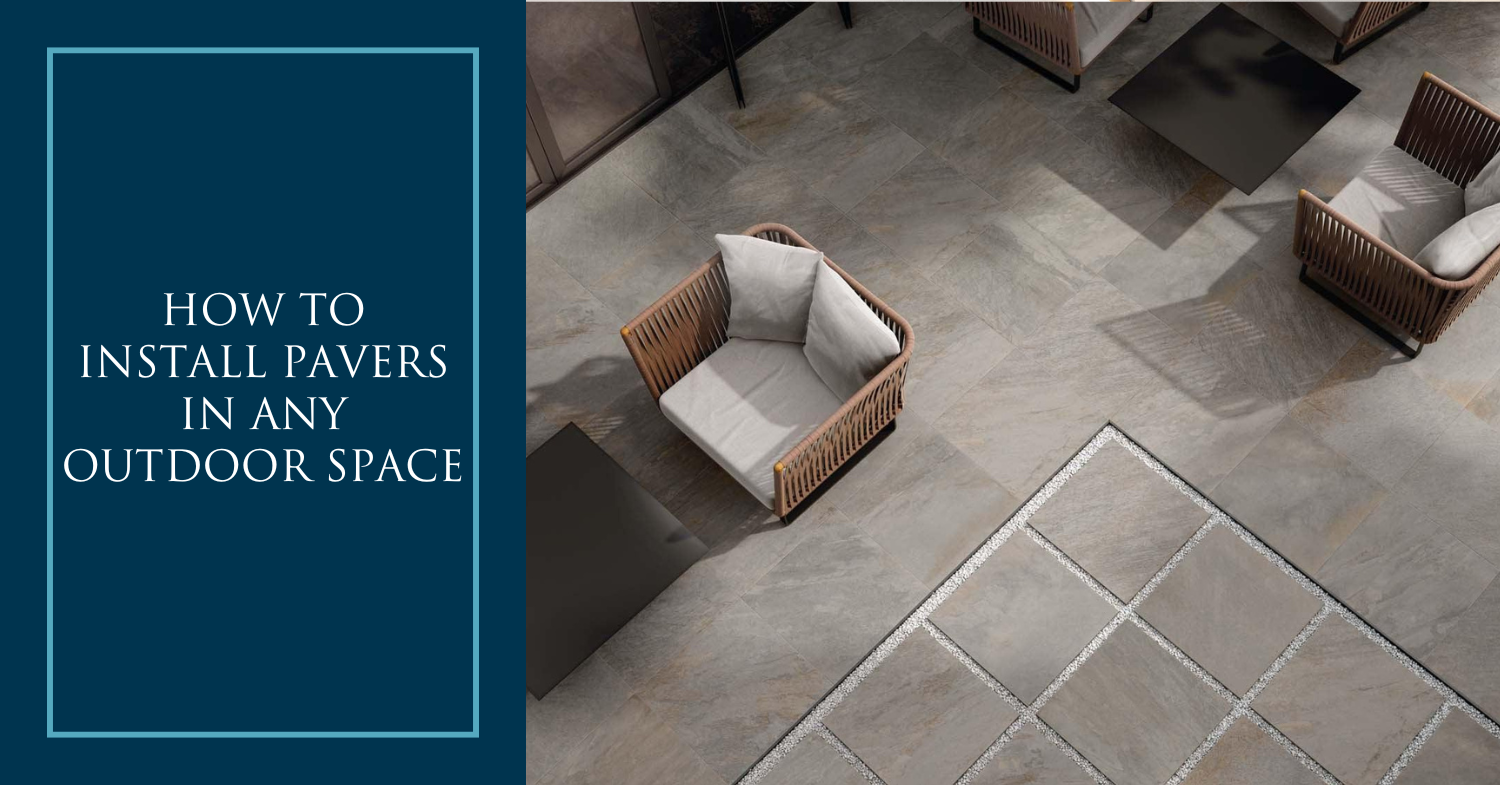
Porcelain pavers are a durable, low-maintenance solution for outdoor patios, walkways, and decks. With superior resistance to stains, moisture, and extreme temperatures, they offer long-lasting beauty without the need for sealing. Whether you're a homeowner planning to DIY patio pavers or a contractor learning a new skill, this guide walks you through the essential steps of installing outdoor pavers, ensuring a stable and aesthetically pleasing result.
This guide is a digestible adaptation of our more technical FRONTIER20 Installation Brochure.
Porcelain pavers stand out for their resilience and versatility in outdoor applications. Here’s why they’re an excellent choice:
Durability – Porcelain paver tiles are resistant to wear, scratches, heavy foot traffic, staining, molding & moss, acid and chemicals, and salts.
Slip Resistance – Porcelain pavers with textured surfaces reduce the risk of slipping.
Low Maintenance – Porcelain pavers don't require sealing, and are easy to clean with mild detergents. Pressure washers up to 1500PSI may be used without fearing etching or striping.
Weatherproof – Porcelain pavers are frost-resistant and unaffected by sudden temperature shifts. Porcelain pavers are also resistant to fading from UV rays.
Eco-Friendly – Many porcelain pavers contain high amounts of recycled content, and porcelain is overall a very sustainable material.
Effortless Installation & Removal – Certain installation methods allow for easy repositioning.
Depending on your outdoor space, different outdoor paver installation techniques can be used. Below are the most common methods how to install pavers outside, ensuring stability and longevity.

This method is especially helpful if you're trying to figure out how to install pavers on your driveway. Ideal for high-traffic areas or driveways, this method involves securing the pavers with thin-set mortar over a reinforced concrete base. This method of installation is suitable for driving light residential vehicles over.

CAUTION: if a porcelain paver is installed over a control joint, the paver will reflectively crack along the contraction/control joint beneath it. Utilization of an uncoupling membrane can help minimize the potential issue.
(Pedestrian Foot Traffic)

If you're trying to learn how to build an outdoor pathway with pavers, this is the ideal solution for you. Perfect for decorative pathways, dry laying pavers over grass provides a flexible, non-permanent solution that is easy to both install and remove if desired.

Cut grass in desired area as short as possible & remove any debris.
Use a landscape rake to scratch up the top 1 inch of soil and level.
Ensure sub grade is graded to a 1" in 10’ slope and that it is pitched away from any building.
(Pedestrian Foot Traffic)
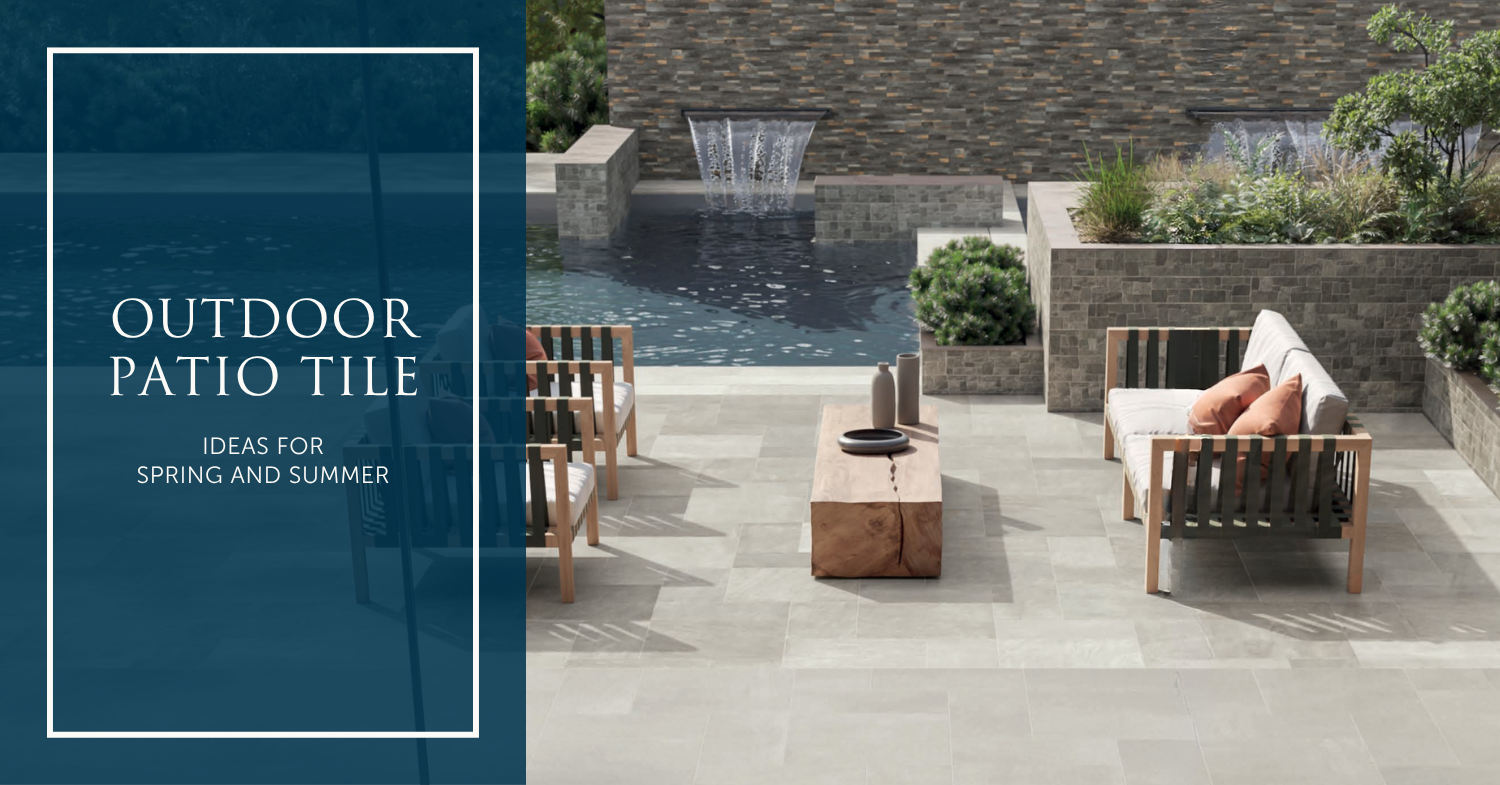
This method is best if you are looking how to build a paver patio. A common choice for patios and walkways, this method allows for natural drainage while keeping the pavers stable.

Base material is to be over dug 6" to 8" beyond the edge of the pavement.
The required edge restraint system is a low profile edge restraint with a vertical height of 1.5"” (4 cm) as shown in the drawing.
Ensure that pavement is constructed with a 1" in 10’ slope that it is pitched away from any building.
Ensure the plastic 3/16" (4 mm) spacers are installed at all corners of the pavers in order to prevent pavers from touching each other (and potentially chipping) and to allow better water drainage.
(Pedestrian Foot Traffic)
How to install pavers over a sand base outside.

Filter fabric is recommended as it allows water to pass but not the particles of sand.
Place a filter fabric layer to prevent sand migration 2-4" of a compactable sand is recommended. You can go with more however it will not offer any distinct advantage. Going with less than 2" may offer a less desirable effect as it will tend to hold more water and become "mushy" when super saturated.
The use of an edge restraint is ideal but not necessary. It becomes more necessary if your desired paving area is above the surrounding native soil, as it will help aid in the minimization of sand migration or erosion.
(Pedestrian Foot Traffic)

A great eco-friendly option that supports drainage, minimizing water runoff.

The required edge restraint system for this installation has a vertical height of 2” (5 cm) as shown in the drawing.
Ensure that pavement is constructed with a 1" in 10’ and that it is pitched away from any building.
Ensure the 3/16" (4 mm) spacers are installed between all pavers, in order to prevent pavers from touching each other (and potentially chipping) and to allow better water drainage.
(Pedestrian Foot Traffic)

For installing pavers over existing deck joists or rooftops, adjustable pedestals provide even support without the need for adhesives.

(Pedestrian Foot Traffic)

For paver installation over low-height support pedestals over existing substrate (up to 3/4" - 20mm).

(Pedestrian Foot Traffic)
For paver installations where concrete is already in place, but a mortar bond isn’t desired, a sand bedding layer can be used.

(Pedestrian Foot Traffic)

For paver installations using a pedestal system over an existing concrete slab.

(Pedestrian Foot Traffic)

For paver installations using a pedestal system over HDP Substrate.

(Pedestrian Foot Traffic)

For paver installations over compacted gravel and sand bedding on grass.

Paver saw with a wet-cut porcelain blade for clean cuts
Rubber mallet for gentle positioning
Notched trowel and grout float (for mortar applications)
Leveling spacers (3/16” minimum)
Edge restraints (for flexible base installations)
Polymeric or traditional sand for joint filling (for some methods)
Keeping your porcelain pavers looking their best is simple:
Use mild detergents and a soft brush for routine cleaning.
Avoid sealers, as they can reduce slip resistance and aren’t needed due to the pavers’ density.
Pressure washers up to 1500 PSI can be used without risk of damage.
For grout haze removal, use a diluted acid cleaner and follow manufacturer recommendations.
Read more tips for cleaning porcelain pavers in our Guide to Cleaning & Maintaining Your Tile.

Porcelain pavers offer a modern, practical solution for outdoor spaces, blending beauty with durability. Whether you're creating a patio retreat, an inviting walkway, or a rooftop oasis, proper installation ensures lasting results. If you have questions or need expert advice, Architessa is here to help with your outdoor tile and paver projects.
For more information, visit Architessa or contact our team today!
---------------------------------------------------------

Austin Meyer brings a background in professional real-estate photography, graphic design, and copywriting to the table. As a marketing specialist, he manages blogs, email marketing, photography, video editing. copywriting, SEO, and website design, amongst other things. Austin has both an eye for the big picture and little details, and wields creativity and positivity in everything he does.